November 30, 2025
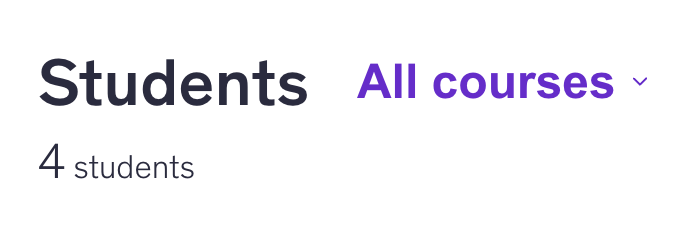
It’s official. I have my first course live! And already 2 students signed up. 🥳 But here is the reason behind the course.

Since the rise of AI, I have noticed a trend of us, yes, all of us, turning to AI to help us solve a problem or come up with ideas first before we talk to another person or even better, a proffesional.
Same trend I see in web design as well. Business owners and starting entrepreneurs are trying to “vibe code” their website or app, but eventually stumble into a tall brick wall or troubleshooting.
So I decided, since I have created so many different web design tutorials and the Design with me series, that it would be a good idea to create a beginner's course for Wix Studio.
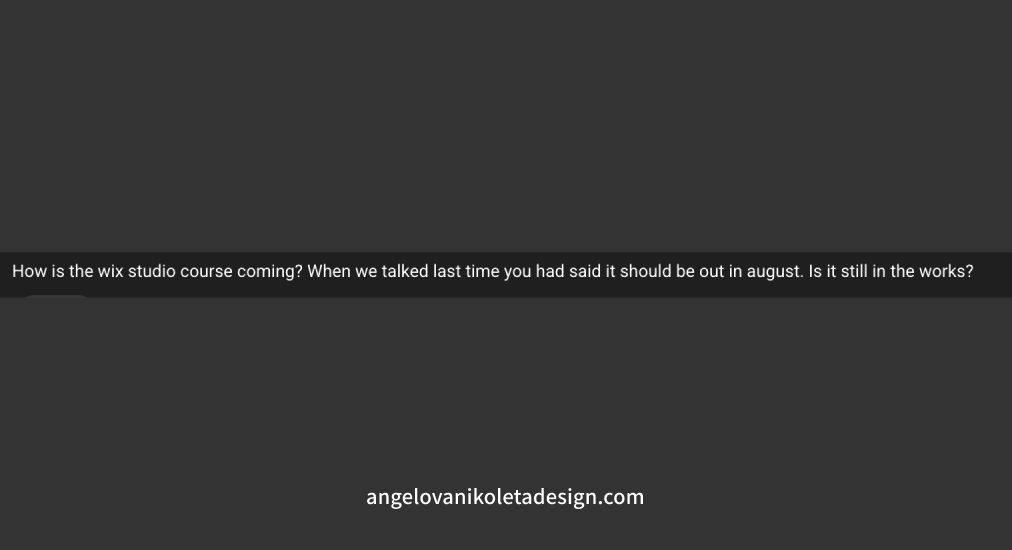
Of course, before starting the course headfirst, I decided to ask my audience on all social media channels if they would be interested in such a course.
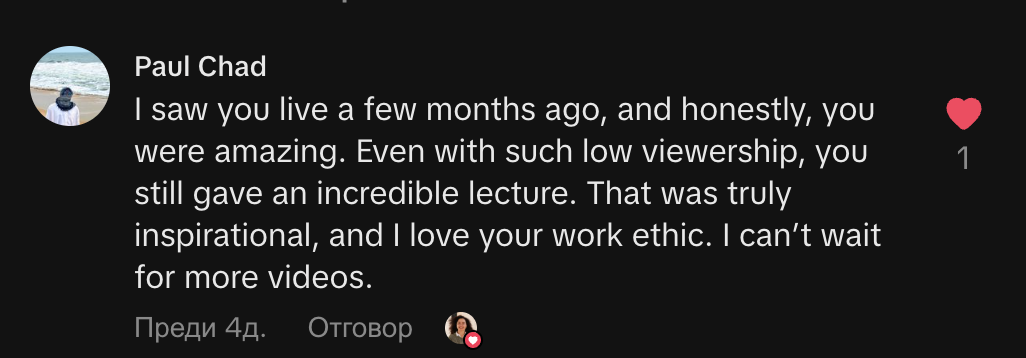
To my surprise, I already had 1 keen viewer to get enrolled in the course and was eagerly checking on the release date. 🤭 What better motivation than someone enquiring about your course?
Thanks to that one viewer on YouTube, I started creating a bit more content about the course and researching who else would be interested. After I got 10 people on the waitlist as interested, I decided to lock in and complete what I have started.
Tiresome! The first mistake I made was that I didn’t have a dedicated calendar slot for actually working on the course. After procrastinating for a month, I decided to set at least one time slot during the week for just the course.
First, I started with drafting the script, or the so-called course structure. Answering the questions like:
After I answered a few of my questions, it was clear to me that I need to start with the foundations. Account for the fact that some course buyers are not designers and haven’t used the tool, but want to learn it.
Hence, I also decided to teach my students how to build a Hero section from scratch because I have seen this request in a lot of tutorials online. And it does make sense, you learn something new, you want to apply the knowledge yourself and see the result.
After my course structure was ready and I had a rough script, the filming started. I was aiming for natural light, good angles, clear tone of voice, good examples, no distractions and background noise. Well, that last one sometimes was a challenge. 😂
Screaming kids, loud neighbours and barking dogs, I had them all in my behind-the-scenes footage. Thanks to DaVinci Resolve, I could cut all the discrations.
What I didn’t account for, though, was the fact that my first lesson was a 22-minute post-edit (1:30h without the edit) and the recording and export settings needed to match well so the quality export to be good.
By the end of the course, I got the hang of the export, and the quality of the screen recording with OBS improved drastically, but then I had issues with:
Honestly, this was a BREEZE! So easy. Even the articles on how to organise your course or write your learning objectives were very useful.
The course page has a checklist you can check off in your preferred order. There are always suggestions on how to improve a course experience along the way. Previews are available as a student and as an instructor.
The only things I had to Google solutions for were:
---
Do you like what you read? Show your support by:
Sharing is caring!
P.S. If you want to be part of my journey, you can find me on Instagram @angelova.nikoleta.design and on LinkedIn (Nikoleta Angelova).
Struggling with design and development? Join me on my YouTube channel, where I explain web design, user experience and development practices and stream occasionally. 🤓
Availability Note:
I work with a maximum of 2 clients at a time to make sure each project and client gets my undivided attention. Hence, once I am fully booked I can only offer you the next available time slot. So make sure to send your request on time!
I will get back to you within 48 hours.


